Sensors#
The sensors menu shows the different devices that can communicate with Air Navigation Pro. There are four types of sensors, or sources:
Location Sources: Used to display your current location and altitude (GPS-based)
Attitude Sources: Used for the Synthetic View
Pressure Sources: Used as source for barometric altitude
Traffic Sources: Used to display nearby aircrafts
Some of the external devices can be used for multiple sources. For example the Levil AHRS G provides location, attitude, pressure and traffic information to Air Navigation Pro.
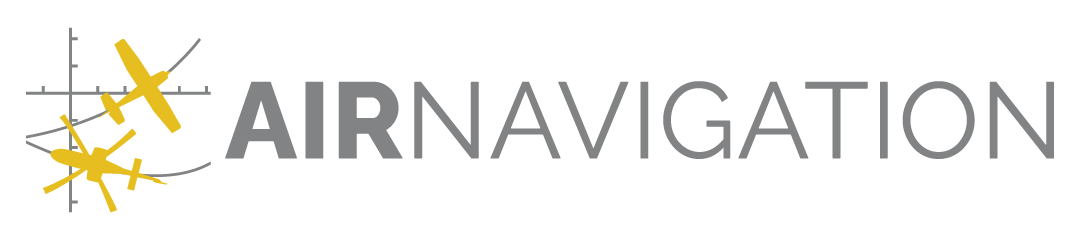
Location Sources#
Flight Simulators - Air Navigation Pro can be connected to flight simulators and use them as source of the data displayed on it: Lockheed Martin Prepar3D and X-Plane Flight simulator
External devices - External sensors that transit location data to Air Navigation Pro: Levil AHRS G Mini/iLevil/ICfly
iOS Location Services - to be able to receive GPS signals (either internal or external).
Note
Other External GPS receivers like the ones from the Bad-Elf, Garmin or Dual will use this sensor.
Note
On Android, you will need an application to mock the GPS location from the Bluetooth receiver. See instructions here.
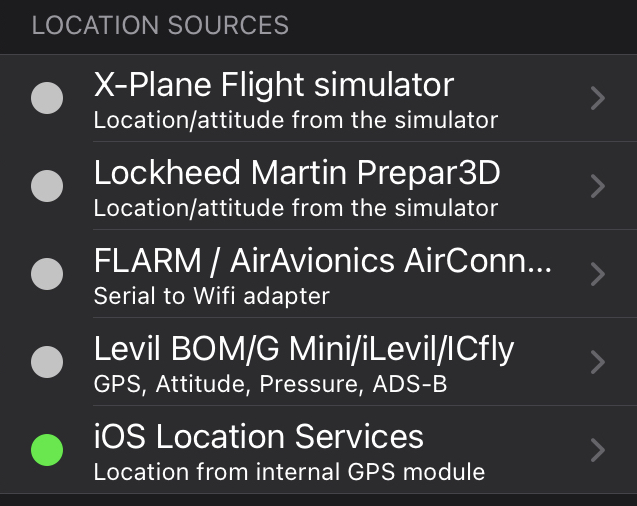
Attitude Sources#
Flight Simulators - Air Navigation Pro can connect to flight simulators and use them as source for the data displayed on it: Lockheed Martin Prepar3D and X-Plane Flight simulator
External Devices - external sensors that transmit attitude data to Air Navigation Pro: Levil AHRS G Mini/iLevil/ICfly
Internal IMU - to connect with the internal gyroscopes of your device.
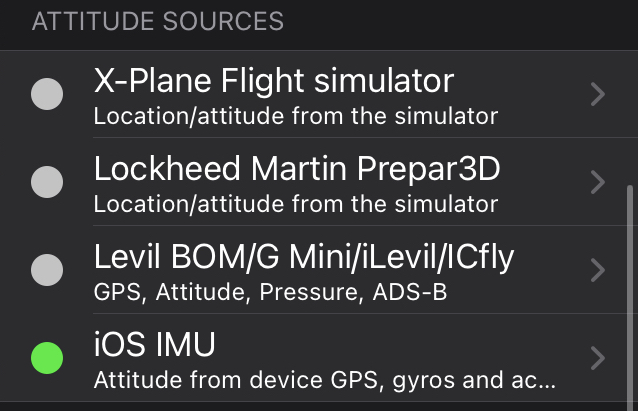
Pressure Sources#
Flight Simulators - Air Navigation Pro can connect to flight simulators and use them as source for the data displayed on it: X-Plane flight simulator and Lockheed Martin Prepar3D
External Devices - External sensors that transmit pressure data to Air Navigation Pro: Levil AHRS G Mini/iLevil/ICfly and ASI FlyNet2
iOS Internal barometer - Starting with the iPhone 6 and Ipad Air 2, the devices are equipped with a barometer. Air Navigation Pro leverages this barometer to better understand the location of the aircraft and show even more accurate data.
Note
If you are flying on a pressurised cabin, the sensor will show the cabin altitude and not the flight altitude. In order to correct this, you just have to disable the iPhone/iPad’s barometric sensor and enable the GPS one.

The altitude display on the navigation bar indicates in brackets the source of data it’s using: (Baro) for pressure altitude, (GPS) for GPS altitude.
Traffic Sources#
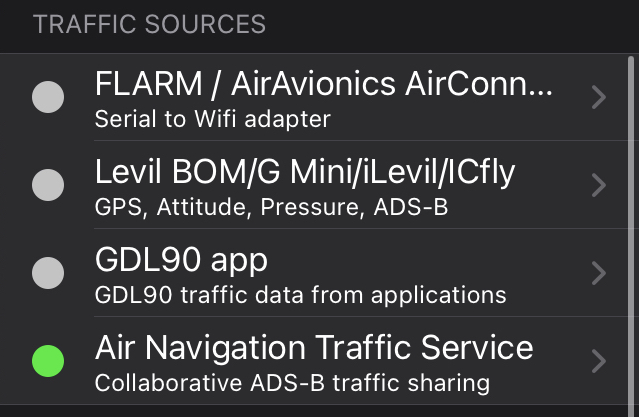
Levil AHRS G Mini/iLevil/ICfly and ASI FlyNet2 - Uses the ADS-B information and displays it on the moving map.
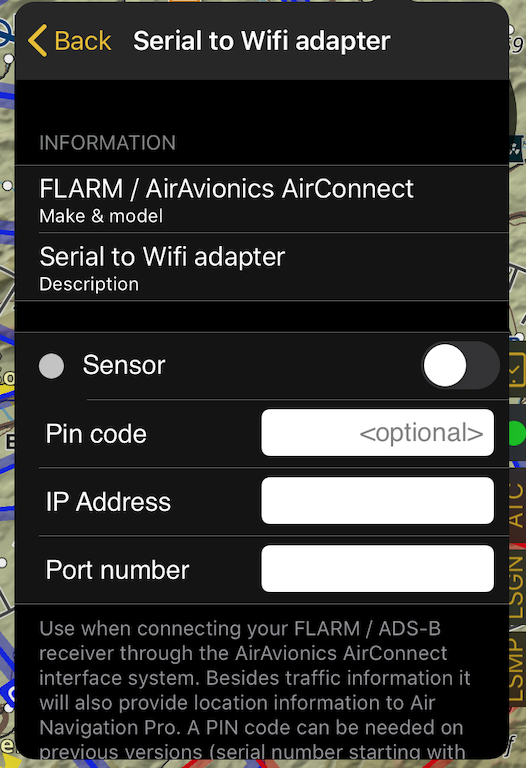
FLARM / AirAvionics AirConnect - FLARMS receivers are only compatible with Air Navigation Pro when using Air Connect from Air Avionics.
Air Navigation Traffic Service - Collaborative traffic sharing. This service will push your current position together with the traffic received by your ADS-B or FLARM device to our server. You will be provided with information sent by other Air Navigation users.
Note
Other ADS-B receivers like PilotAware have also been proven compatible with Air Navigation. The connection to Air Navigation Pro has to be made via WiFi for these devices to work. We do not deliver a full list of compatible devices. We have done testing with the above mentioned devices, we can not guarantee that other devices will work as well.
Levil Products#
AHRS#
Air Navigation Pro is prepared to work with the external device known as AHRS from Levil technology. It’s compatible with its two versions:
AHRS g mini
iLevil AHRS
The AHRS will provide accurate data for altitude, bank and rudder. Besides it shares pressure, altitude and airspeed information with Air Navigation if the sensors are active.
How to connect the iLevil#
On the toolbar, tap Tools (For phone: Tap Config.) > Sensors > Levil BOM/G Mini/iLevil/lCfly
Enable the Levil sensor
Switch on the iLevil device, wait calibration, then connect the iPad/iPhone to the device wifi network.